Floor, Counter, or Sidekick POP Displays: Which One Is Best for Your Product?
Floor, counter, or sidekick POP displays each win in different store zones. Compare placement, capacity, restocking workload, and best fit products to choose faster.
Back to blogs
In retail, the display format you choose can directly affect product visibility and sales conversion.
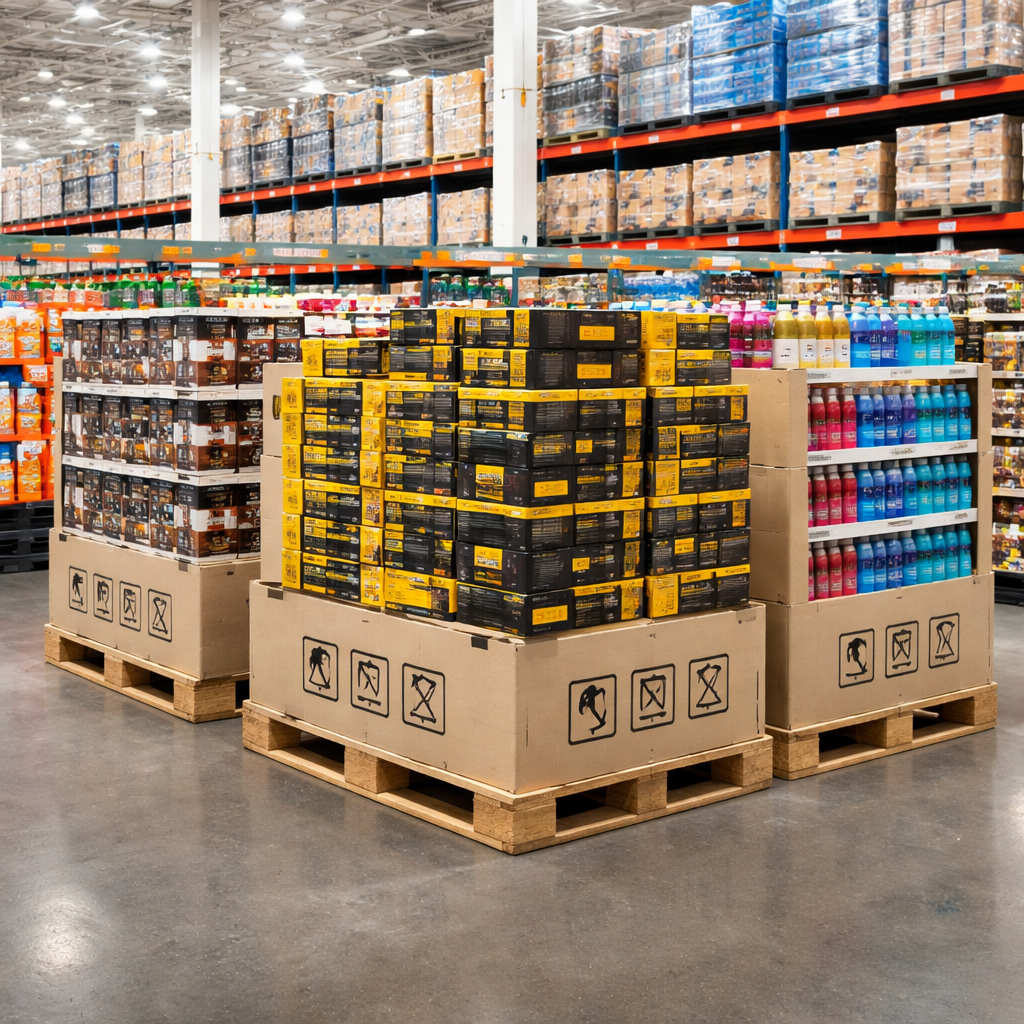
In supermarkets, most POP displays fall into three common types: floor displays, counter displays, and sidekick displays (also called power wings). They all showcase products, but they differ in placement, capacity, replenishment workload, and the kinds of products they support best.
Below is a practical comparison from a procurement and store execution point of view, followed by selection guidance you can actually use.
1. Floor Displays
Floor displays are some of the most attention grabbing fixtures on the sales floor. You will usually see them in main aisles, near entrances, or at endcap areas. Their biggest advantages are high visibility and large capacity, which makes them a strong choice as the centerpiece of a promotion.
When floor displays make sense
• You need to communicate a strong brand theme, such as a new product launch, a seasonal promotion, or a co branded campaign.
• Your products are larger, heavier, or need more shelf space, such as family size snacks, multi bottle beverages, or promotional bundles.
• You want shoppers to notice the offer from a distance and walk toward it.
Store execution notes
• Prime locations typically require advance approval and may be limited by aisle width and fire safety rules.
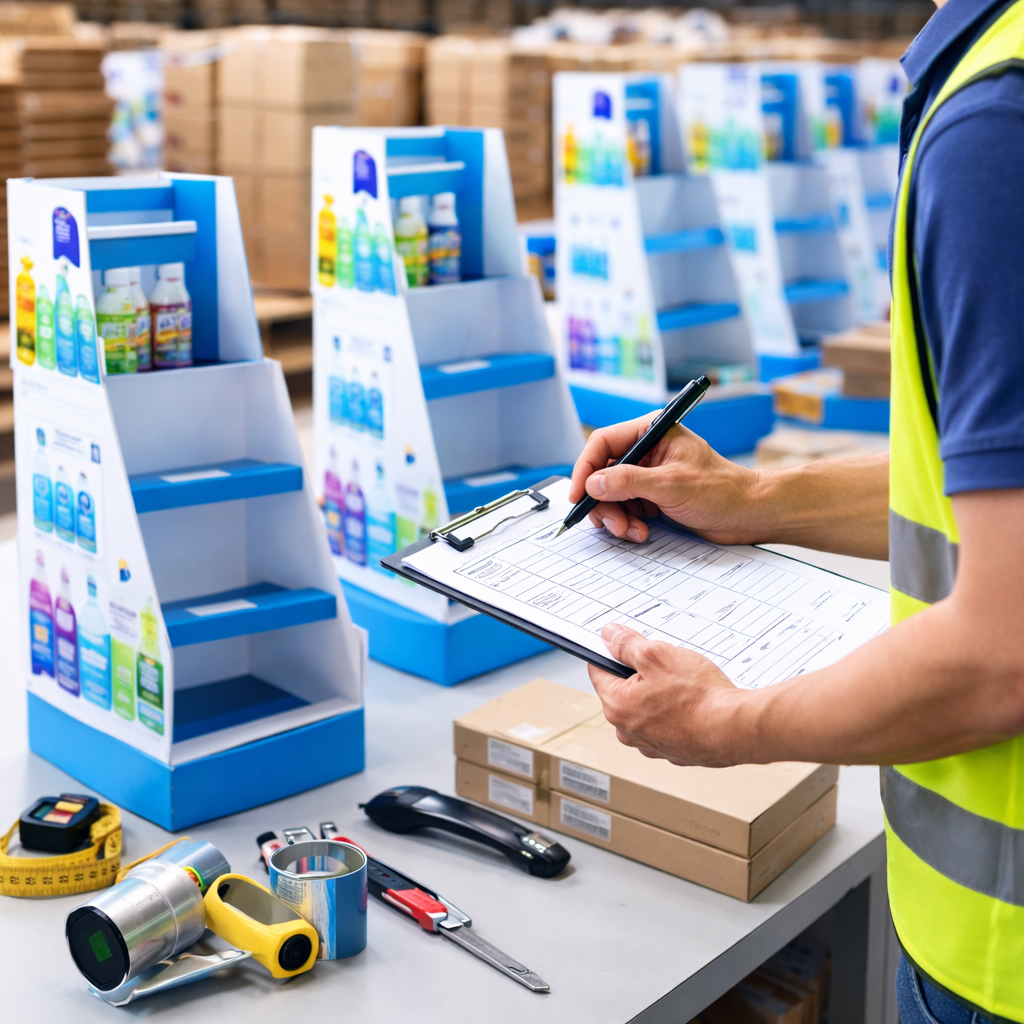
• Plan replenishment carefully. Floor displays can sell through quickly and often require frequent restocking by store teams.
2. Counter Displays
Counter displays are usually placed near checkout counters, service desks, or promotional booths. They are not designed to hold large inventory. Their role is to capture attention at the last moment before payment, when shoppers are more likely to add an extra item.
When counter displays make sense
• You sell low price items with fast decisions, such as gum, lip balm, travel size products, or mini snacks.
• You want a short, high conversion promotion, such as trial packs, limited time offers, or buy one get one deals.
• Store space is tight and you cannot secure a floor location, but you still want exposure in a high conversion zone.
Store execution notes
• Checkout zones often have stricter rules. Many retailers do not allow displays that block sightlines or interfere with scanning and payment flow.
• Keep the design simple, but make the offer instantly clear, especially price and the key benefit.
3. Sidekick Displays
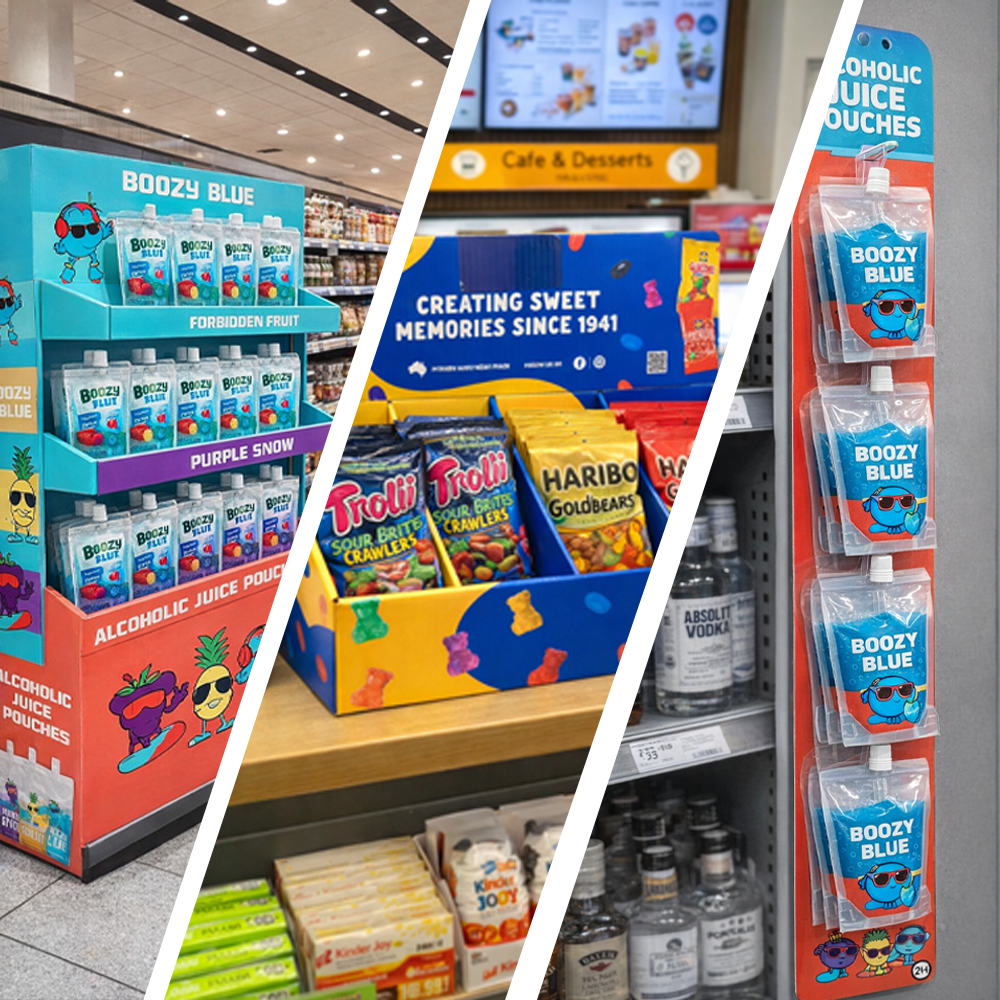
Sidekick displays attach to the side of a shelf or the edge of an endcap using hooks or clips. They use very little space, but they pull products out from the shelf and into the shopper’s line of sight. This format works especially well for cross selling and incremental purchases.
When sidekick displays make sense
• Your products are lightweight and compact, such as batteries, phone accessories, single serve snacks, or travel size skincare.
• You want cross category pairing, such as coffee filters next to coffee, batteries beside toys, or seasonings near condiments.
• The store is not willing to allocate floor space, but is open to using shelf sides and endcap edges.
Store execution notes
• Make sure the unit does not interfere with nearby shelves or shopper traffic. Many retailers set strict size limits for power wings.
• Prepacked units are often ideal. Store staff can install quickly and reduce setup time.
Quick Selection Guide for Procurement and Store Operations
Use these questions to choose fast, without overthinking design first.
Step 1: What is the job to be done
• Build campaign awareness and move volume: choose a floor display
• Win last second add ons at checkout: choose a counter display
• Drive cross selling with minimal space: choose a sidekick display
Step 2: What is the store willing to approve
• If floor space is hard to get, prioritize sidekick or counter formats
• If checkout rules are strict, focus on sidekick placements near complementary categories
• If store teams are short staffed, lean toward prepacked sidekicks or simple counter units
Step 3: What will make execution easiest
• Floor: confirm replenishment plan and delivery cadence
• Counter: confirm allowed footprint and sightline rules
• Sidekick: confirm hook system, max width, and endcap compatibility
Example rollout plan you can copy
Here is a common approach for large chain supermarkets when you want both reach and conversion:
Primary placement
• Main aisle or endcap floor displays to carry inventory and build awareness
Secondary placement
• Sidekick displays near the most relevant aisle to capture cross sell traffic
Checkout activation
• A small counter display only in stores that allow it, focused on one hero SKU or trial size
This combination spreads risk. Floor units deliver scale, sidekicks extend the campaign into the category aisle, and checkout captures impulse where permitted.
What to include in your supplier brief
If you want fewer revisions and faster approval, include these details up front:
• Product dimensions and unit weight
• Units per shelf and target facing count
• Store type and target placement zones
• Replenishment expectation, store team or vendor team
• Installation preference, prepacked or ship flat and assemble
• Target rollout quantity per store and total store count
If you share your product category and approximate unit weight range, I can tailor the rollout example to a realistic store map and recommend a display mix that fits typical supermarket constraints.
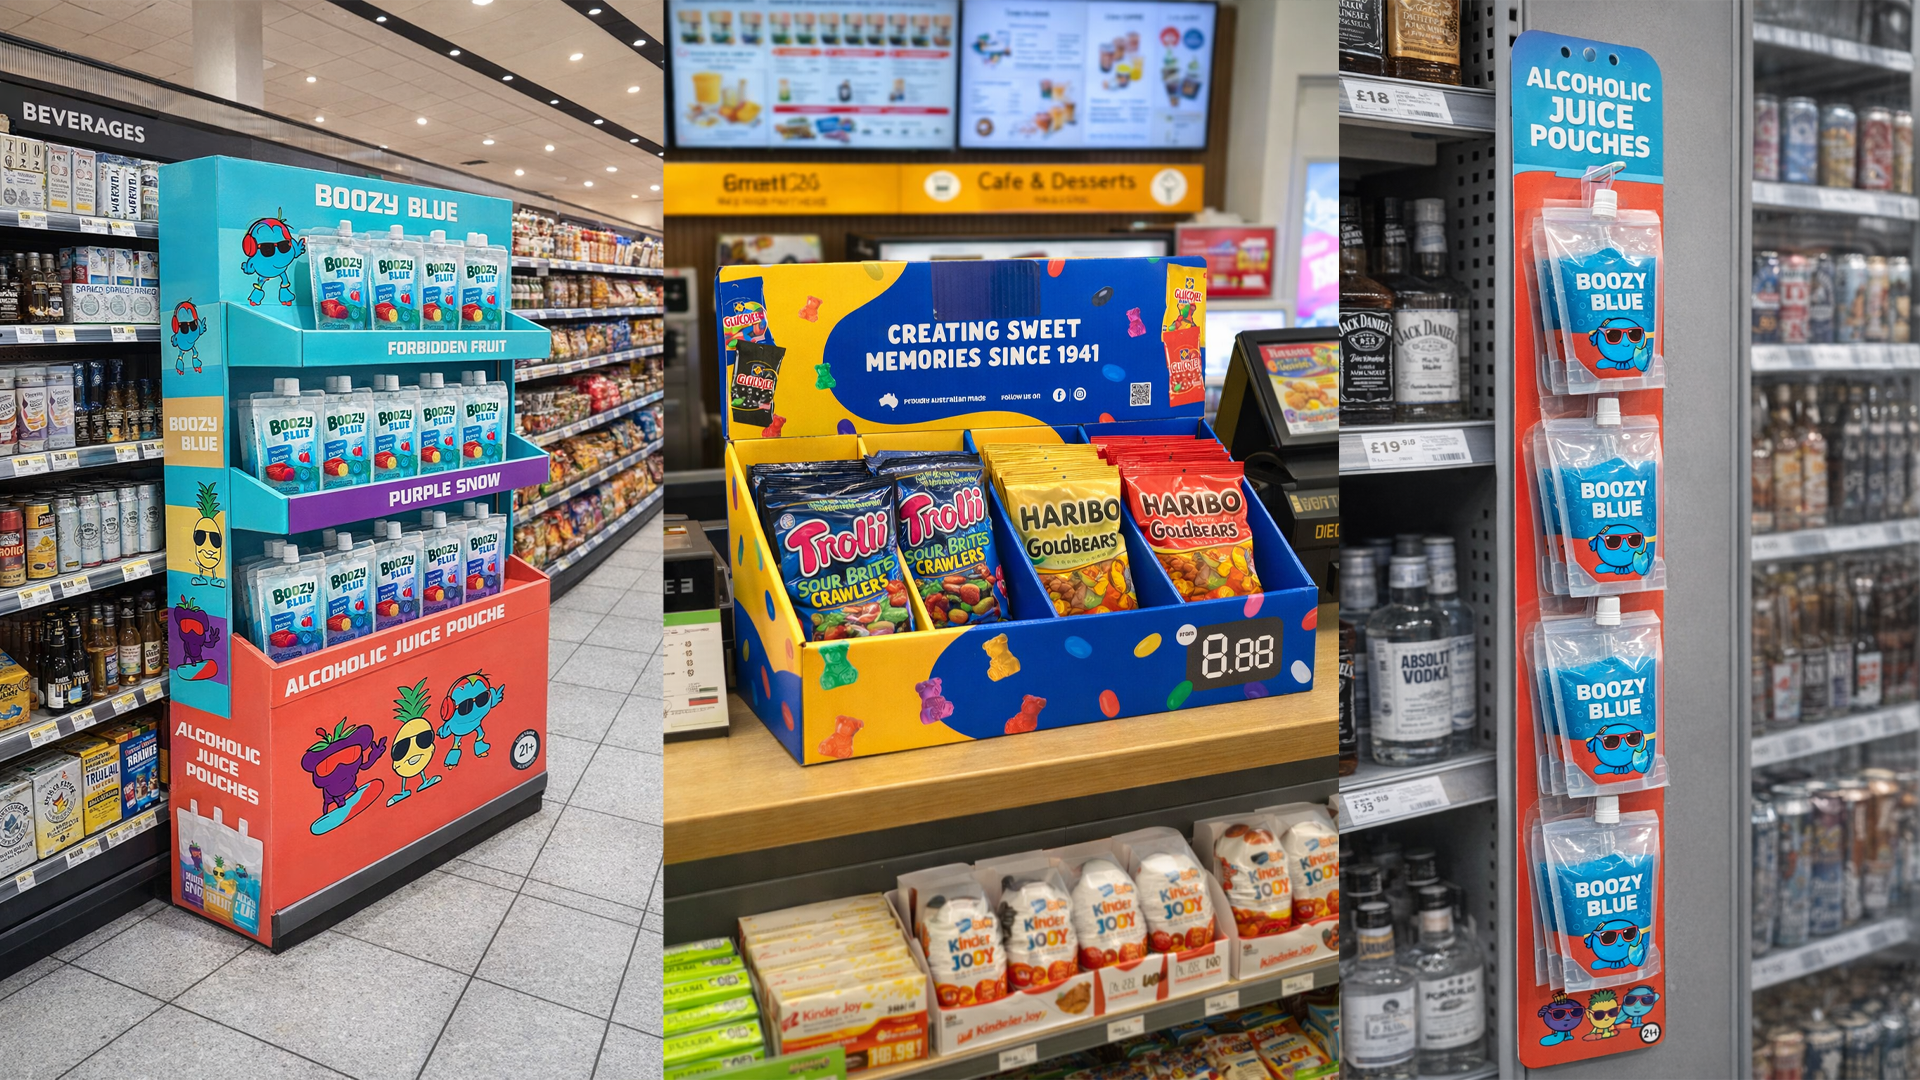
Floor, counter, and sidekick POP displays in a supermarket setting, showing how placement changes visibility and conversion.
Useful Links:
Latest Posts
All Posts