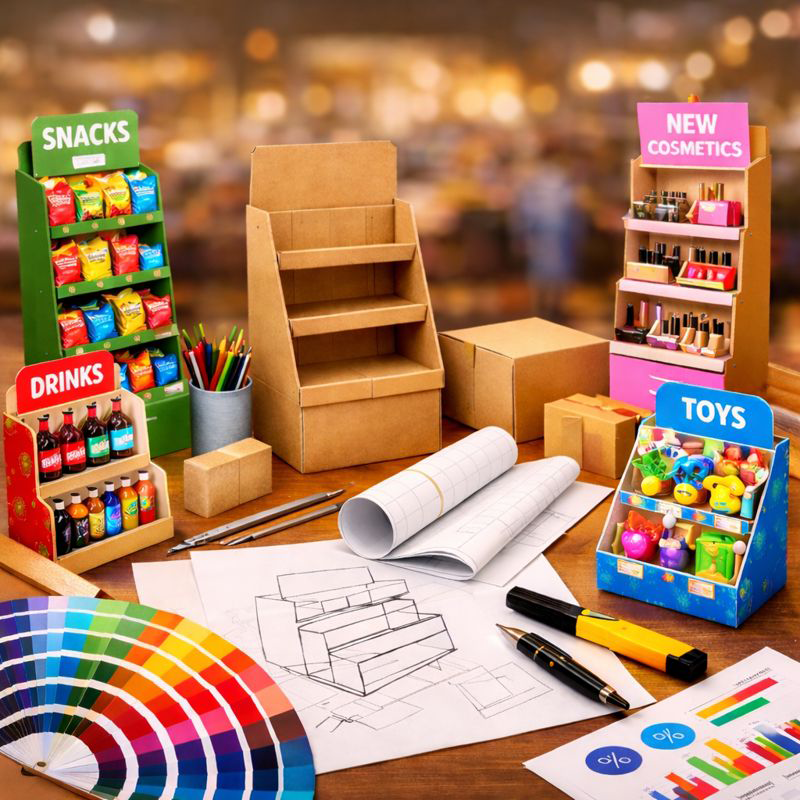
How to Plan the Right Shelf Capacity for Custom Cardboard Displays
Learn how to plan shelf capacity for custom cardboard displays by balancing product load, structure, replenishment needs, and real retail conditions.
Back to blogs
Planning shelf capacity for a custom cardboard display is not just about deciding how many products fit on each shelf. It is about balancing product visibility, replenishment efficiency, structural strength, and real retail conditions.
A display may look perfect in a rendering or sample photo. But once it is filled with products, shipped through distribution, placed in store, and handled by shoppers, the real test begins. Shelves may sag, side panels may lean, the base may become unstable, or the display may look messy after repeated restocking.
Many of these issues come from one simple mistake: shelf capacity is planned only by product count, not by actual load. The key question is not simply how many units a shelf can hold. A better question is: how much weight must the shelf carry, for how long, and under what retail and shipping conditions?
Start with the Merchandising Goal
Before choosing board grade, flute type, or shelf structure, start with the merchandising requirement. The display needs enough products to support both visual presentation and real store replenishment.
A shelf should not look half empty soon after placement. At the same time, adding too many products creates unnecessary weight and structural risk. The goal is to find a practical capacity that supports the sales plan without overloading the display.
A useful way to estimate shelf capacity is:
Required display quantity = minimum presentation quantity + expected sales before the next replenishment + safety buffer.
For example, a fast-moving product may need more capacity if store staff replenish only once per day. A short-term promotion may also need a different capacity from a display expected to stay in store for several weeks.
Replenishment method is also important. If staff refill by tray, case, or shelf-ready pack, the shelf should be designed around that real unit. A shelf that visually holds 18 units may not work if stores normally restock in 24-unit trays. That is why shelf capacity should be planned together with product pack count, case quantity, and store replenishment method.
Use Gross Product Weight, Not Net Weight
One common mistake is calculating shelf load based only on product net weight. In real display design, the shelf must support the full gross weight, including product packaging, trays, inserts, dividers, pushers, promotional cards, and other accessories.
For bottled drinks, cosmetics, pet products, household goods, or multi-pack items, the difference can be significant.
If several SKUs share the same display, calculate each shelf separately. A lower shelf may hold heavier packs, while an upper shelf may carry lighter items for better visibility.
After calculating each shelf, check the total load of the full display. In a multi-tier cardboard display, weight transfers through side panels, back panels, dividers, locking points, and the base. If the full load is not considered, the overall structure may still become unstable.
Convert Product Quantity into Shelf Load
Once the product count is clear, convert it into a working load:
Shelf working load = maximum product quantity on the shelf × gross unit weight + tray or accessory weight.
Then consider the heaviest real condition during store use. Staff may temporarily place a full tray or unopened pack on the shelf during restocking, creating a higher load than the normal display condition.
For this reason, the design load should be based on the heavier condition: normal working load or peak refill load. A safety reserve should then be added. For many ambient retail displays, a starting reserve of around 1.5 can be practical. For heavier goods, longer shelf spans, humid environments, or longer display life, a higher reserve may be needed.
For example, if one shelf holds 24 snack packs at 0.22 kg each, and the tray adds 0.35 kg, the working load is:
24 × 0.22 + 0.35 = 5.63 kg.
With a 1.5 reserve, the shelf should be designed for about 8.45 kg. For heavier products, the display may need stronger board, shorter shelf spans, extra reinforcement, or a different structure.
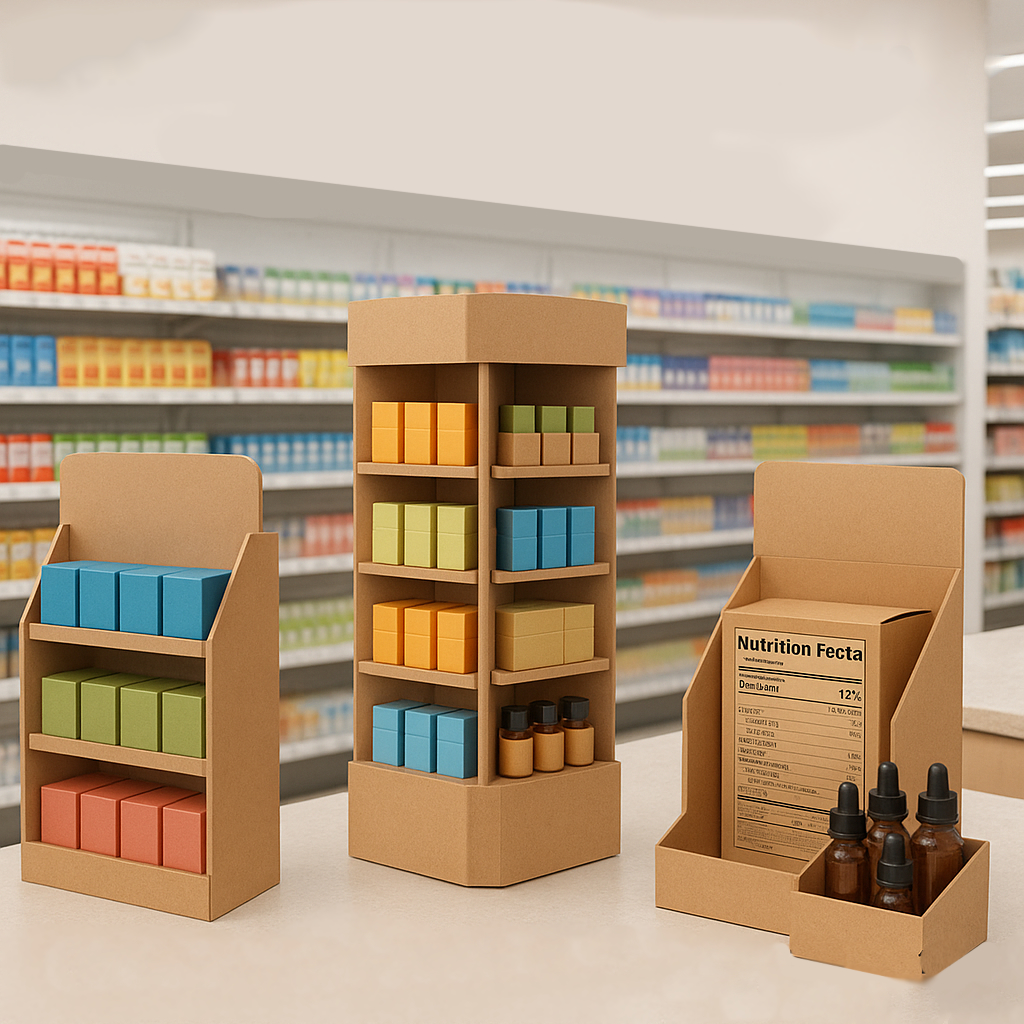
Match Shelf Structure with Material Choice
In retail display projects, “cardboard” usually refers to corrugated board. Corrugated board is lightweight, printable, recyclable, and suitable for many POP displays. But its strength depends heavily on board construction and display geometry.
Important factors include wall type, flute profile, board thickness, shelf span, load direction, edge strength, and support structure. A fine flute can provide a cleaner printing surface when appearance matters. A stronger flute or double-wall structure may be better for heavier products or longer display life.
Material choice should never be separated from structure. A strong board can still fail if the shelf span is too wide. A lighter board may perform well if the shelf is shorter, properly supported, and reinforced in the right places.
Common structural solutions include thicker shelf decks, folded front lips, internal support ribs, locking tabs, back panel reinforcement, and stronger base construction. Buyers should confirm the board combination, flute type, shelf support method, reinforcement plan, and expected load capacity before production.
Consider Store and Shipping Conditions
Cardboard display strength is affected by the environment. Corrugated board can lose stiffness when exposed to high humidity, poor storage conditions, or long periods under load.
A shelf that looks strong during a short sample test may slowly sag after holding products for several weeks. This is especially important for humid regions, long-distance shipping, seasonal storage, chilled retail areas, or warehouses without stable climate control.
Time also matters. A weekend promotion does not face the same risk as a display expected to stay in store for one or two months. For heavier products or longer campaigns, it is safer not to push the structure to its limit.
Test the Loaded Display Before Production
A sample display should not be checked only for appearance. It should be tested with real products or an accurate weight simulation.
During prototype review, buyers and suppliers should check shelf sagging, side panel stability, base strength, edge damage, locking tabs, product movement, and restocking convenience. For demanding programs, compression and transportation tests may also help confirm whether the display can survive palletizing, handling, vibration, stacking pressure, and delivery.
Once artwork is printed and materials are ordered, structural changes become more expensive and slower to fix. It is better to adjust shelf height, support structure, board grade, or packing method during the prototype stage.
Plan with the Manufacturer Early
Shelf capacity should be discussed before final artwork approval. If product quantity, shelf layout, or replenishment method changes after design approval, the structure may also need to change.
A good manufacturer will usually confirm product gross weight, units per shelf, SKU quantity, replenishment frequency, loading method, display life, shipping style, palletizing needs, and retailer requirements.
These questions help prevent common problems later. For custom cardboard displays, shelf capacity is connected to structure, material, printing, packing, shipping, store setup, and retail execution.
Final Checklist Before Approval
Before approving a custom cardboard display, confirm the gross weight of every SKU, including trays and accessories. Plan capacity around real replenishment needs, not only the visual layout.
Calculate the working load for each shelf and the total load for the full display. Check whether heavier products need stronger board, shorter shelf spans, or additional reinforcement.
Also consider humidity, storage time, transportation, and expected display life. Test the prototype with real products or accurate weight loading. Finally, confirm the board structure, flute type, reinforcement method, and packing plan before mass production begins.
Conclusion
The right shelf capacity makes a cardboard display more than attractive. It makes it practical, stable, and ready for real retail use.
For brands and retail buyers, good planning reduces the risk of sagging shelves, unstable displays, difficult replenishment, shipping damage, and poor store execution.
When shelf capacity is planned from the beginning, the final display is more likely to hold the right product quantity, support real product weight, stay neat in store, and perform well from warehouse to sales floor.

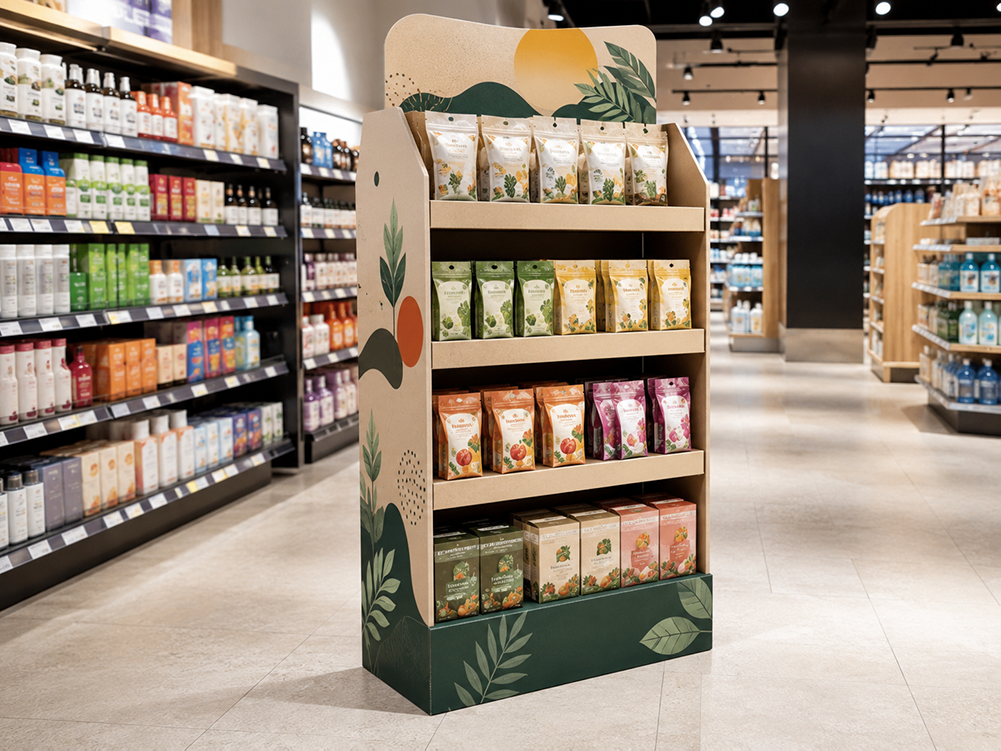
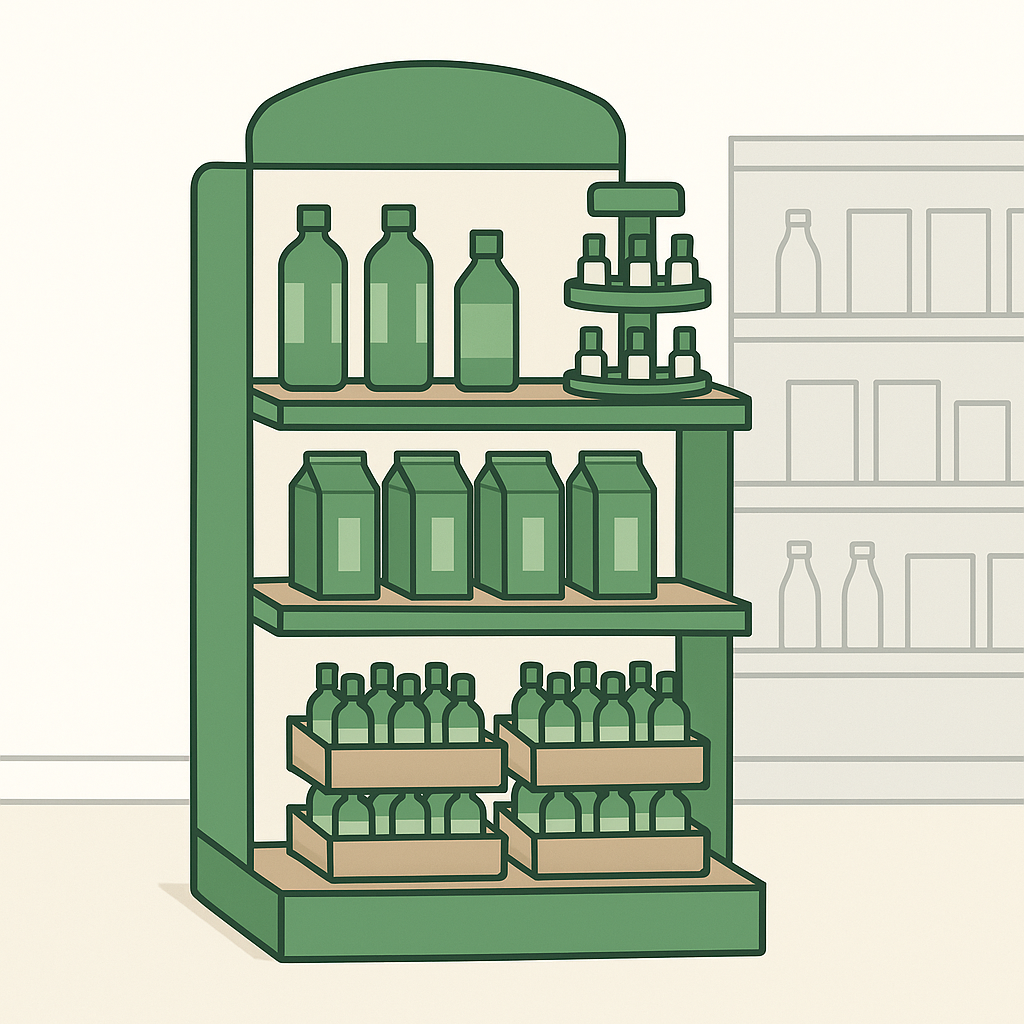
A custom cardboard floor display with balanced shelf capacity, clear product visibility, and neatly arranged retail packaging in a modern store environment.
Useful Links:
- Structural Design of Corrugated POP Displays: Premium Appearance, Solid Strength
- Cardboard POP Displays: A Practical Guide to Printing and Materials
- How Corrugated POP Displays Are Tested for Load Capacity
- What to Check Before Approving a Display Prototype
- Corrugated POP Displays: A Practical Pre-Shipment Inspection Checklist
- Best Practices for Endcap Displays: Layout, Stocking, and Restocking
- How to Choose the Right Custom Cardboard Display Stand for Your Brand